16 Tips for Burger Photography: Creating Delicious Visuals
Silvain • updated February 2, 2023 • 6 min read
Silvain • updated February 2, 2023 • 6 min read

A delicious burger is a perfect meal to treat yourself, but how can you make it even better? By capturing the perfect picture of it! In today’s world, food photography is an art form, and burgers are no exception.
From the juicy patty to the melted cheese and toppings, every element of a burger needs to be captured in all its glory. In this article, we’ll share some tips and tricks to help you take stunning burger photos that will make your mouth water.
Content
» Listen
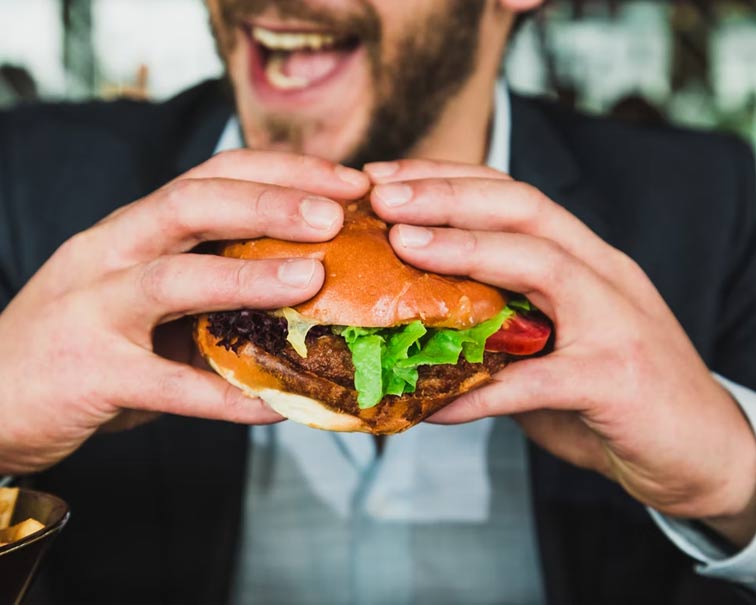
Use a macro lens or extension tube with your existing lenses to focus closer. Most lenses only enable you to focus on something when you are at least 1 foot away.
If you get close and use a 35mm lens, it’ll be quite wide and you’ll have to crop a lot. A close-up is a really nice photo that shows very detailed the burger and reveals its greasy texture.

I believe that using natural light as your light source is best for someone who is new to food photography. The North light is fairly consistent throughout the day, giving you plenty of time to make adjustments, whilst the South light changes more quickly but offers more variation.
You don’t want direct sunlight, but rather soft and intimate light. The window light looks nice and eliminates the need to transport a large amount of lighting equipment that is difficult to set up in a restaurant. Consider some open shade if you’re outside.
If you are interested to learn more about to make the food look good, read our article about food styling explained.
Try and find the right spot to focus on, then let the remaining area fade away. This look can be achieved by using a fast lens wide open.
Simply ensure that your burger is in focus. If you’re using a macro lens and getting in close, shoot at f/4 to get an improved depth of field.

If you don’t feel confident holding the camera and shooting at relatively slow shutter speeds, invest in a tiny tabletop tripod. Nothing is worse than a blurry, out-of-focus burger photo.
When photographing burgers, professional photographers prefer to focus manually. That way, you have more control over what remains in focus and what fades away.
Nothing is worse than using the camera autofocus on a burger when you’re shooting that close only to discover later that the focus ended up on the wrong side of the burger.
Then you may have to redo all and spend additional time on a new burger in order to reshoot it.
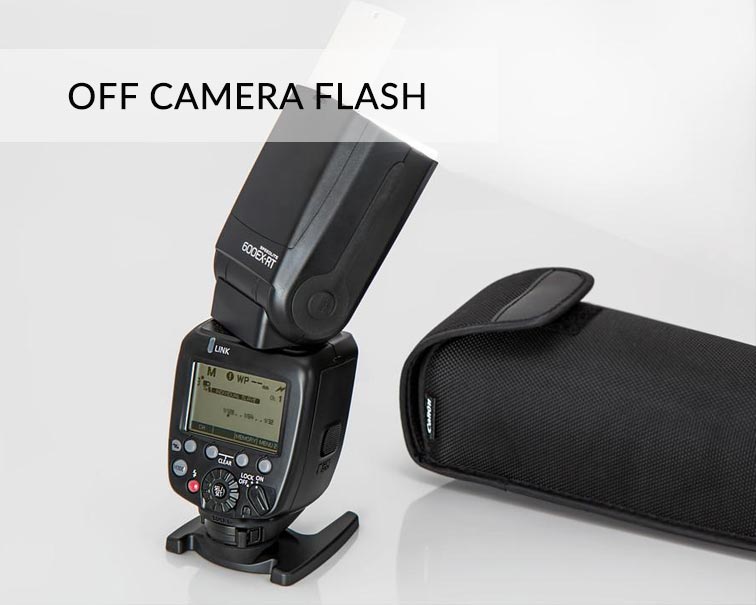
If you really must use flashes, such as in a low light situation or a burger restaurant, utilize an off-camera flash with some form of the diffuser. Use your imagination.
If you don’t have an off-camera flash, bounce the light. If the room has dark walls or a ceiling, try bouncing off a piece of white paper/napkin.
If you’re bouncing and shooting pretty close to the burger, I recommend putting the flash on manual exposure rather than TTL, which gives you a bit more control.

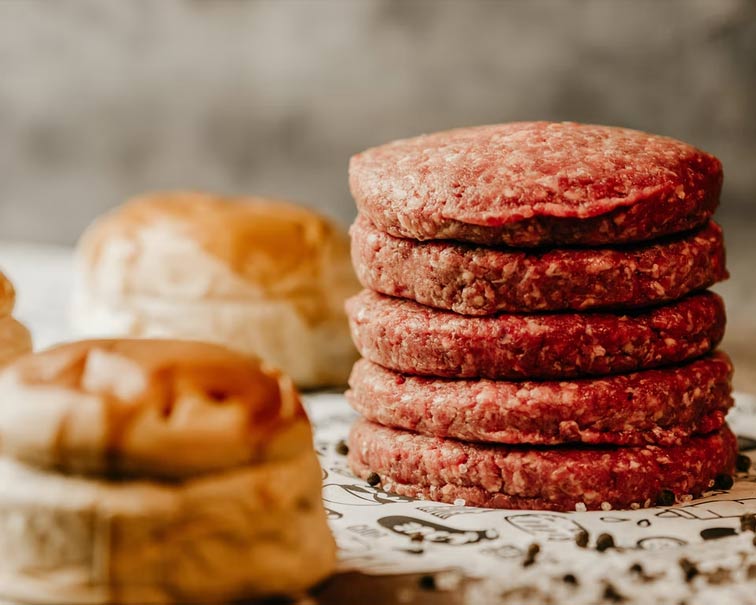
Finding an excellent hamburger bun might be difficult. But the search is worthwhile because the bun can seriously influence your burger photography.
Professional stylists prepping scenes for fast-food burger shoots often check out 100 plus buns to find the right one. Then they’ll use tweezers to individually place sesame seeds on them.
Make sure the buns haven’t been sliced already, then you can cut them to your own desired size. Make sure you have the same buns for try and error available.
Slice the buns according to your needs. For example, one bun may have a thick top while another may have a thick bottom.
In case the sauce or other toppings begin to soak through the bun, have backup buns available.


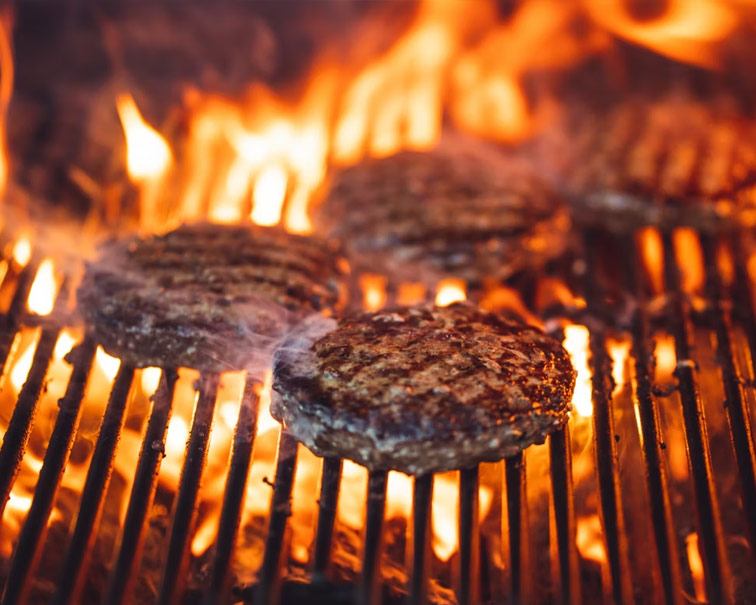
Grill markings are an excellent way to personalize your burger patties. The marks will give your burgers a more genuine appearance.

When serving hungry customers, the melted cheese is frequently placed on top of the patty to allow the cheese to melt, which gives the burger that ultimate tasty look we all love.
So, if you quickly photograph your burger before serving it to your guests, it will have the optimal melting factor.
However, if the photo is staged, you have to act swiftly because all of the toppings on the burger are frequently cold. A pastry torch, which really is a must-have gear for food photography, can be used to melt the cheese.
Interested in more cheese photography? Check our cheese photography guide here!

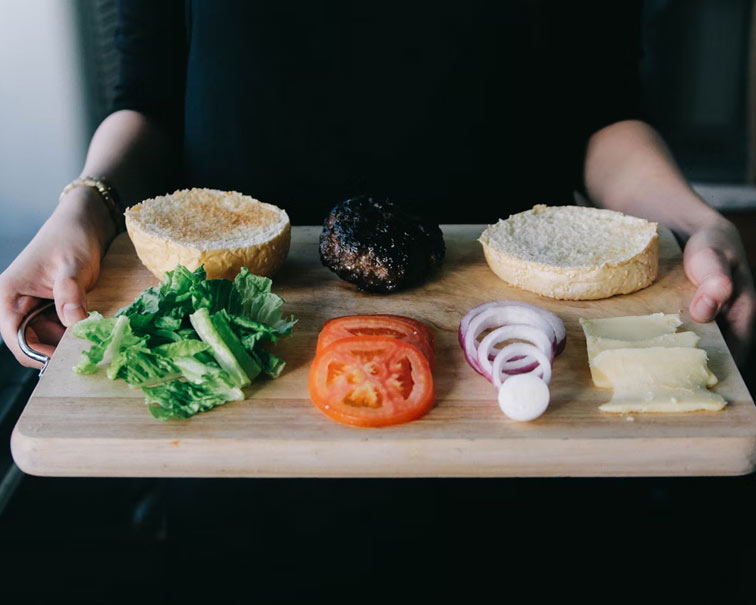
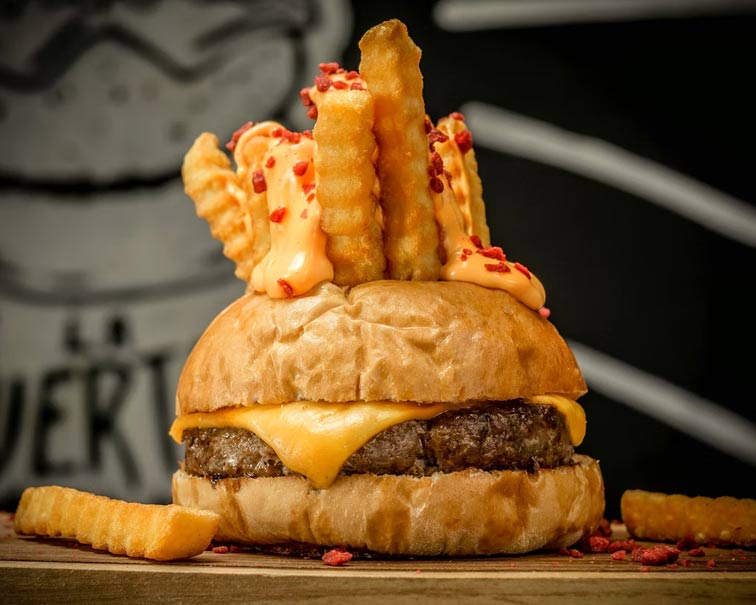
The most enjoyable aspect of a burger shoot is picking what to place on your burger. Burger photos are more appealing when they include a variety of components. Based on what you like to achieve, you could top the burger with pickles, tomatoes, or lettuce.
You might also experiment with different ingredients. These can be everything from sliced onion rings to chopped French or Italian cheese. Food photography gives you absolute freedom in any way. You can style and manipulate your burger as you like.
Arrange or cut the objects you want to add. Place the patty on a baking tray and set it aside until you’re ready to place it on your burger.
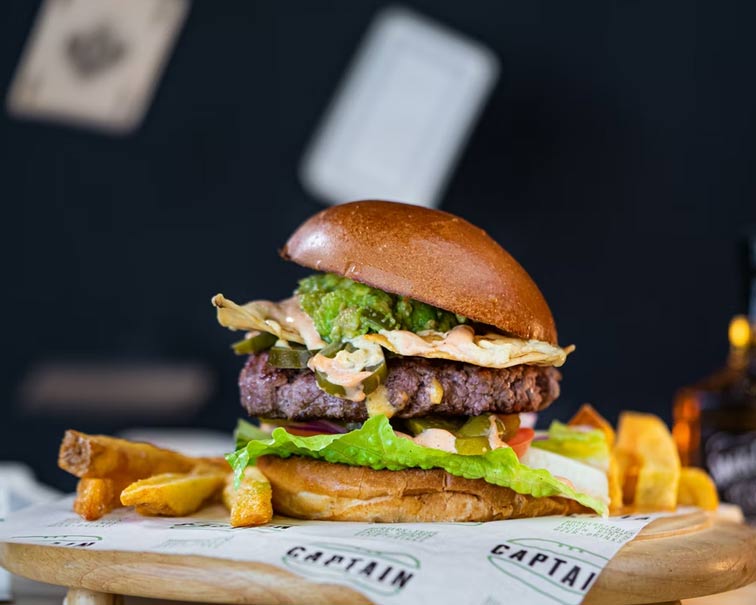
Burgers are typically photographed at eye level. There should be no empty gaps seen between the layers of toppings.
Then add the sauces to the edge of the bun right before you shoot. Otherwise, the sauces would wet your burgers. Use a squeeze bottle with a small opening to carefully put any sauce on the burger.

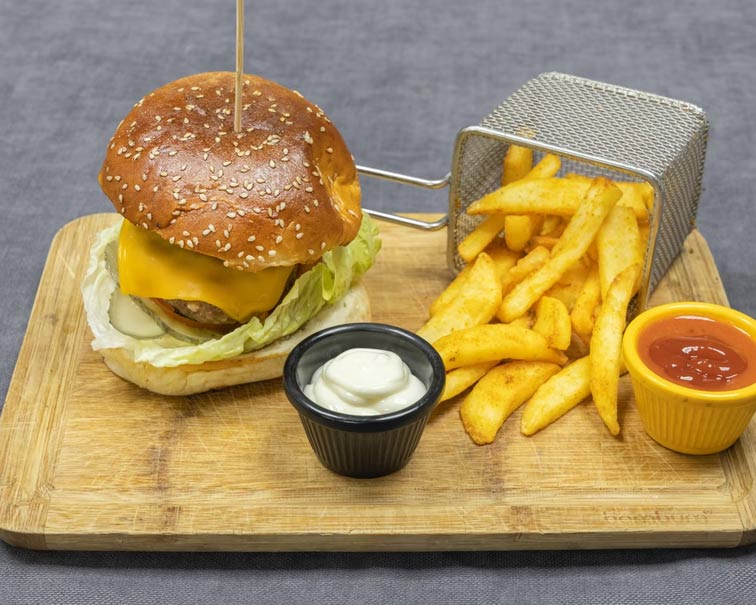
When taking pictures of food, you should always choose the best background and props to tell the story of the food. Your props and backgrounds should look good together and make sense in the photo.
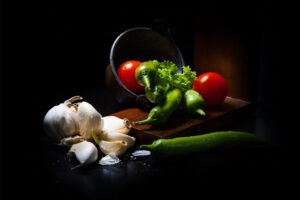
If you want to give your burger photo a more rustic look. Use a darker background and surface to take pictures. Wooden cutting boards, old tools with a patina, dark-colored napkins, and natural linens all help to tell this kind of story.
For an even more rustic feel and a one-color look, you can use a wooden background and surface.
Keep in mind, that the way you position your props also makes a big difference in how they look.
TIP: Enhance the warmth of a burger with our Food presets for Lightroom. There’s a tailored setting for every food mood, ensuring consistency and appeal in every shot.

Most of the editing that food photographers do is done in Lightroom, and then they use Photoshop to make their photos look even better.
Other types of food photography don’t need as much editing as a picture of the perfect burger does. Some of Photoshop’s tools are needed to do this.
Lightroom is a great editor for the whole world. But it can’t do some kinds of editing, such as compositing and working in layers. Enhance the colors, tones, and mood of your food images with our Lightroom food presets.
It’s also fine if you don’t know a lot about Photoshop. The spot removal tool and the clone stamp are both very useful. Use them to get rid of any flaws in your picture.
If you know what you’re doing, you can zoom in on different areas of your photo. Work on the coloring and use the dodge and burn tools to get the shadows and highlights to look right.
Since a burger is made up of layers, the different toppings can cast shadows on each other. You need to fix these when you are editing.
A macro lens or extension tube with an existing lens is recommended to focus closer.n
Using natural light, specifically North light which is fairly consistent, is recommended for someone new to food photography.
Shooting in RAW mode is recommended as it may not always get an accurate depiction of the exposure with a digital camera, and severely underexposed or overexposed photos won't look good.
Finding the "sweet spot" is important to let the remaining area fade away and achieve a look of focus on the burger, with a fast lens wide open.
Using manual focus gives more control over what remains in focus and what fades away, preventing the camera autofocus from focusing on the wrong side of the burger.
Taking the perfect burger photo is all about getting close, using the right light source, making use of manual focus, and using the right equipment. By following the tips outlined in this tutorial, you can ensure your burger photos are eye-catching, and stand out from the crowd.
Whether you’re a professional food stylist or just starting out, these tips will help you achieve the perfect shot every time. So go ahead, and get ready to capture some mouth-watering photos of your favorite burgers!
No Idea how to prepare a burger? Check out this recipes:
Related Articles
Food Photography Hashtags and Quotes
Food Photography
Food Photography
Food Photography
Your thoughts and questions


Mouthwatering burger pics! Being a fast food social media manager, I found lots of helpful tips for capturing enticing photos worthy of going viral and driving orders. Definitely want to utilize focus on the melted cheese stretch. Yum!
Pingback: Thomas K.
As an hobby food blogger and home cook, I appreciated all the useful burger photography tips in this article! Getting the perfect melt on the cheese, optimal lighting angles, and thoughtful use of color to make the ingredients pop are skills I’m still developing.
I learned new techniques like adding steam for a fresh-off-the-grill look. The specific editing advice is super helpful too – I never thought to enhance color saturation on veggies and sear marks! I feel inspired now to plan an epic burger photo shoot for my blog.
Time to put these pro photography pointers into delicious practice!!
Yum! As a fast food lover, this made me hungry for a good burger pic. Great tips for getting menu-worthy shots. Love the lighting and styling ideas.