Beer photography has become one of the most important marketing tools for breweries, restaurants, and craft beer enthusiasts looking to showcase their favorite brews. Whether you’re documenting your brewery’s latest IPA or simply want to share your weekend beer adventures on social media, taking great beer photos requires specific techniques that go beyond basic smartphone snapshots.
The craft beer boom has created a demand for quality beer imagery. Breweries need compelling photos for their websites, social media, and marketing materials. Food bloggers want appetizing shots that make their readers thirsty. Even casual beer lovers want to step up their Instagram game with photos that actually do justice to their favorite brews.
Content
What is Beer Photography?
Beer photography is the specialized art of capturing alcoholic beverages in their most appealing form. It combines product photography techniques with food styling to create images that highlight the beer’s color, texture, carbonation, and overall appeal. Good beer photos make viewers want to reach through the screen and grab a cold one.
Understanding beer photography: a fusion of product photography and food styling to highlight beer’s visual appeal.
Understanding the Unique Challenges of Shooting Beer
Photographing beer isn’t like shooting any other beverage. Beer presents unique challenges that require specific solutions. The carbonation creates bubbles that constantly move and change. The foam head can disappear quickly. Glass creates reflections that can ruin a shot. Beer comes in different containers that each require different approaches.
Temperature matters more than you might think. Cold beer looks fresh and appealing, while warm beer looks flat and uninviting. The condensation on a cold glass or bottle can add visual appeal, but it can also create unwanted reflections or block important details.
Different beer styles have different visual characteristics. A dark stout looks completely different from a pale wheat beer. An IPA has different foam properties than a lager. Understanding these differences helps you adjust your approach for each type of beer you’re shooting.
Transform Your Car Photos in 1 Click.
.......................................... Get Our Lightroom Presets!
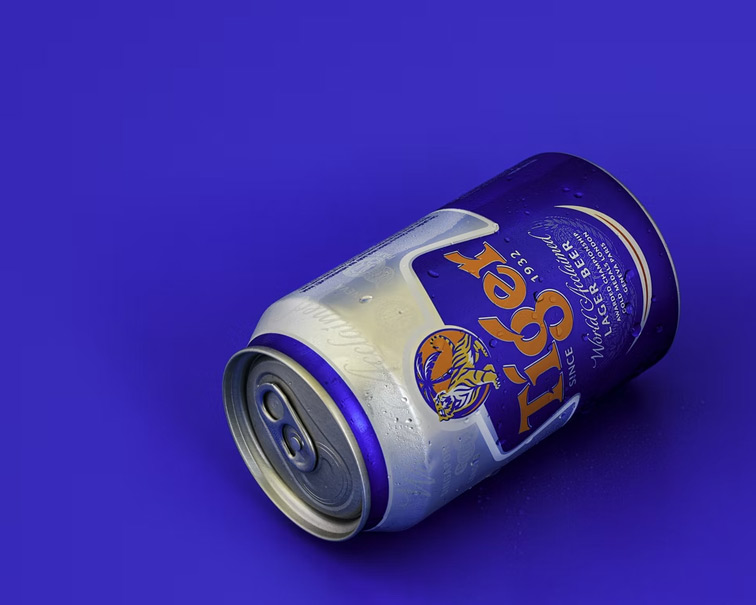
The essential gear kit for capturing crisp, professional beer shots—even with a smartphone
Essential Equipment for Beer Photography
You don’t need a fortune in equipment to take great beer photos, but having the right tools makes a huge difference. Here’s what you actually need:
Basic Equipment:
Your smartphone – Modern phones have powerful cameras that can compete with dedicated cameras
Tripod or phone mount – Eliminates camera shake, especially in low light
Small tabletop tripod – Makes your shots much sharper and more stable
Secure phone mount – Holds your device steady during longer shoots
Lighting Tools:
White foam board or collapsible reflector – Bounces light into shadows for even lighting
DIY reflector – White poster board or aluminum foil taped to cardboard works great
Sheer curtains or white sheets – Perfect for diffusing harsh sunlight
Advanced Equipment (Optional):
DSLR or mirrorless camera with macro lens – More control over depth of field
LED panels – Consistent artificial lighting without heat
Studio strobes – Professional lighting for commercial work
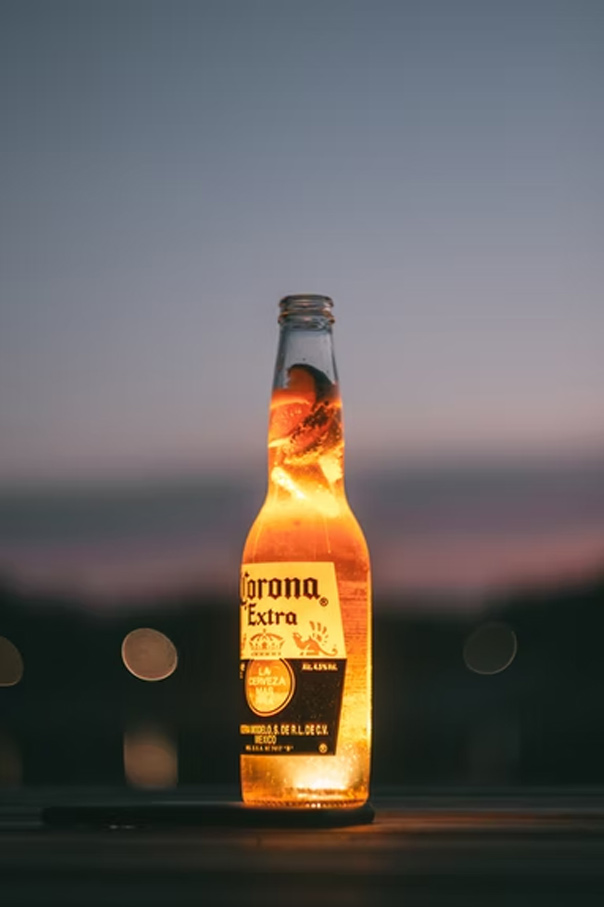
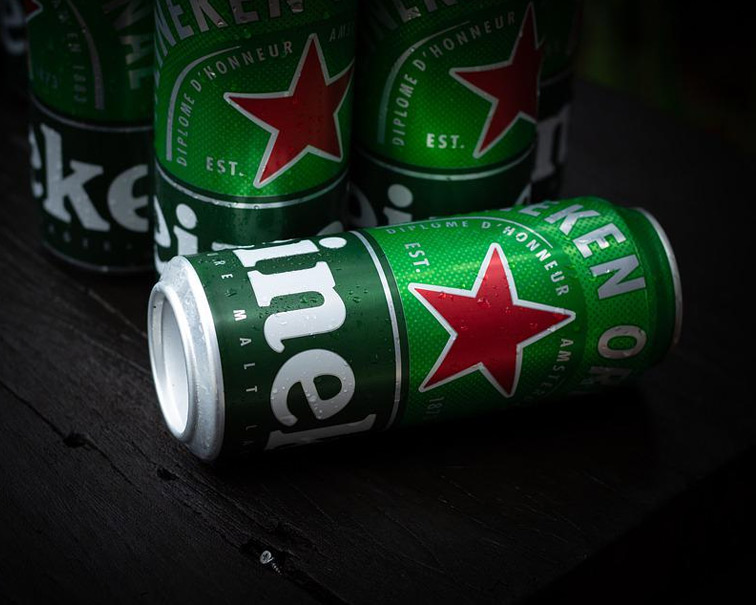
Backlighting and soft daylight can transform a simple beer into a glowing centerpiece.
Mastering Light for Perfect Beer Photos
Lighting is absolutely critical for great beer photography. The wrong lighting can make even the best beer look unappealing, while good lighting can make any beer look irresistible.
Natural Light Tips:
Position your setup near a large window with soft, diffused daylight
Avoid direct sunlight – it creates harsh shadows and reflections
Use sheer curtains or white sheets to diffuse bright light
Shoot during golden hour for warm, appealing tones
Light Direction Matters:
Side lighting – Creates dimension and shows beer texture
Backlighting – Creates beautiful glow through lighter colored beers
Front lighting – Tends to flatten images, usually avoid this
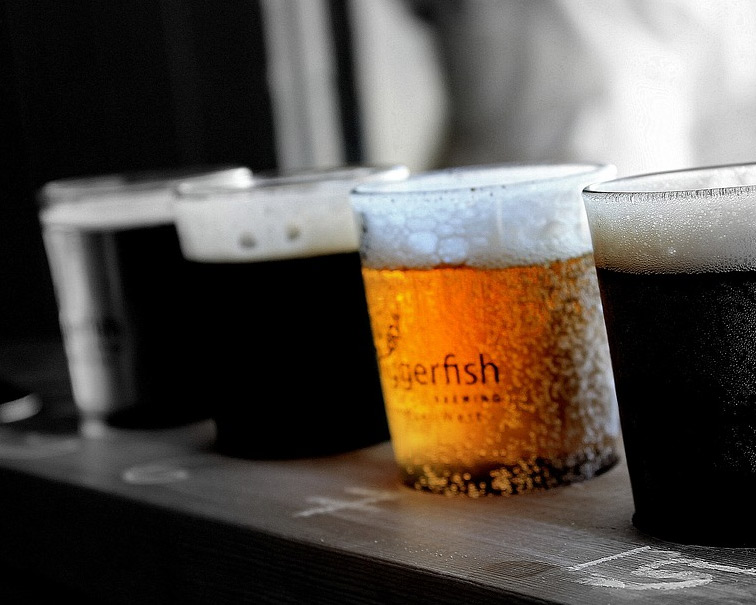
Top lighting – Good for overhead shots and beer flights
Artificial Lighting Options:
LED panels – Work well because they don’t generate heat
Studio strobes – Great for professional work but require experience
Continuous lights – Let you see exactly how the light falls
Managing Reflections:
Position lights at angles that don’t reflect directly into camera
Move yourself, the beer, or lights to eliminate unwanted reflections
Use polarizing filters to reduce glare on glass surfaces
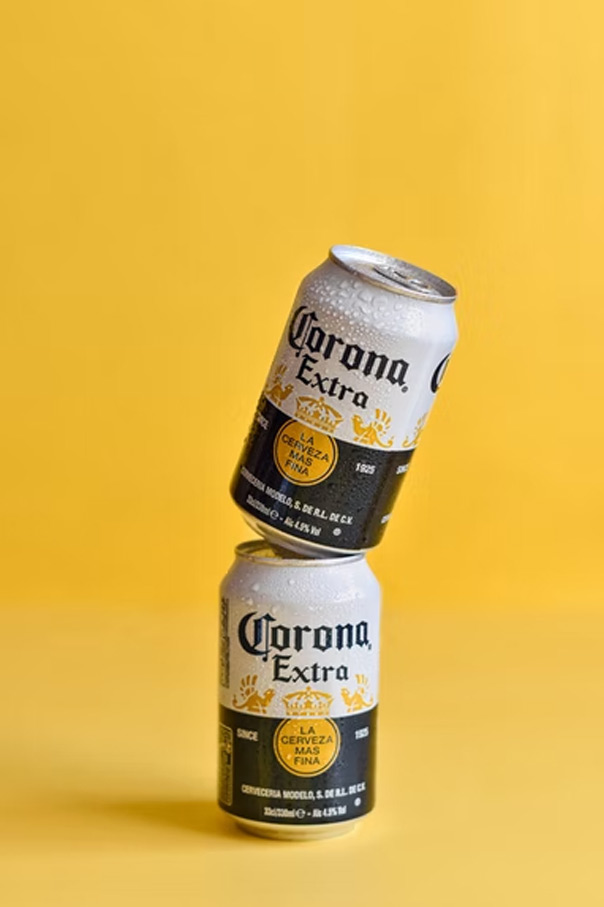
Use composition strategies like the rule of thirds and leading lines to make your beer shots more dynamic.
Composition Techniques That Work
Good composition can make the difference between a snapshot and a compelling photograph. Here are the key techniques that work:
Rule of thirds:
Place your beer at intersection points rather than dead center
Create more visual interest and natural-looking compositions
Use your camera’s grid lines to help with placement
Leading Lines:
Use table edges to guide viewer’s eye to your beer
Glass rims can create circular leading lines
Bottle labels and shapes provide natural directional elements
Depth of Field Strategies:
Shallow depth of field (low f-stop) – Blurs background, makes beer pop
Deep depth of field (high f-stop) – Shows context and environment
Focus on the most important part of your beer (foam, label, or glass rim)
Background Considerations:
Simple, clean backgrounds work best
Wood tables provide warm, natural texture
Neutral walls or plain cloths create clean backdrops
Avoid cluttered backgrounds that distract from your beer
Storytelling Elements:
Casual beer – Show in comfortable, relaxed setting
Premium craft brew – Present formally with elegant props
Consider the mood and message you want to convey
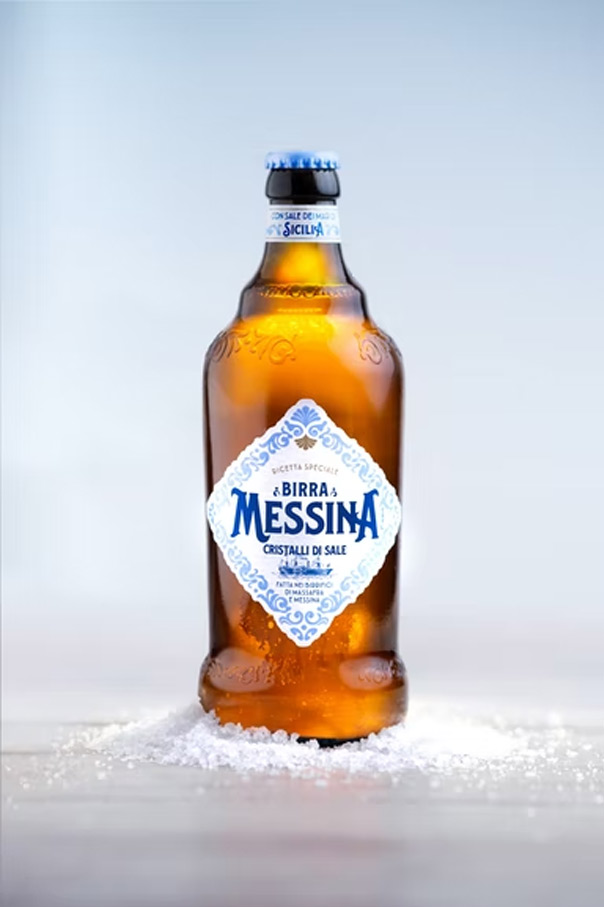
Chill your glass, control foam, and use glycerin spray to style beer like a pro.
Beer Styling Secrets That Professionals Use
Professional beer photographers use specific techniques to make beer look its absolute best. These styling tricks can transform an ordinary beer photo into something extraordinary.
Temperature Control:
Use chilled glasses and bottles to maintain condensation
Keep glassware in freezer until just before shooting
Work quickly to maintain that fresh, cold appearance
Have backup chilled glasses ready for multiple shots
Creating Perfect Foam:
Pour beer with confidence to create good head
Be ready to shoot quickly before foam disappears
Pour from a height to create more dramatic foam
Some photographers use soap/water mixture for longer-lasting fake foam (photo-only)
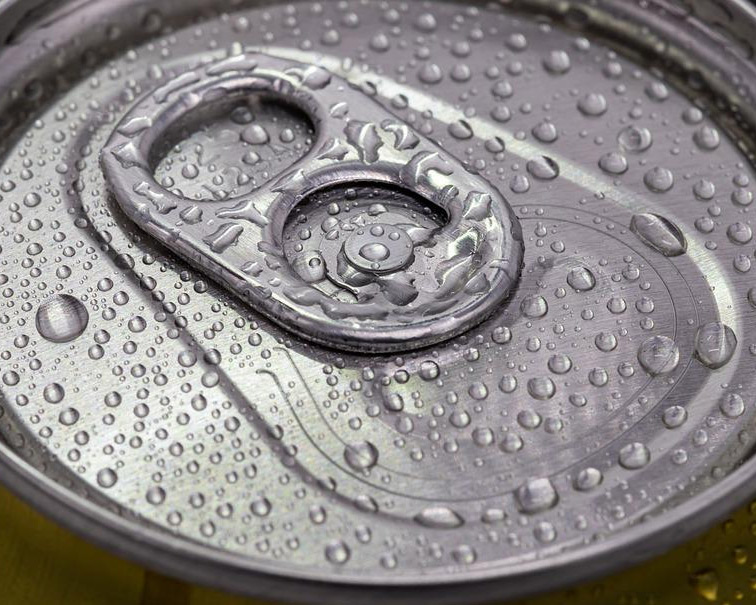
Fake Condensation Technique:
Mix equal parts water and glycerin in spray bottle
Mist outside of glasses or bottles for realistic droplets
Glycerin makes droplets stick and look more authentic
Apply just before shooting for best results
Strategic Bubble Enhancement:
Fresh beer naturally has carbonation bubbles
Gently scratch inside of glass with knife tip for more bubbles
Drop small piece of salt into beer to encourage carbonation
Work quickly as bubbles dissipate over time
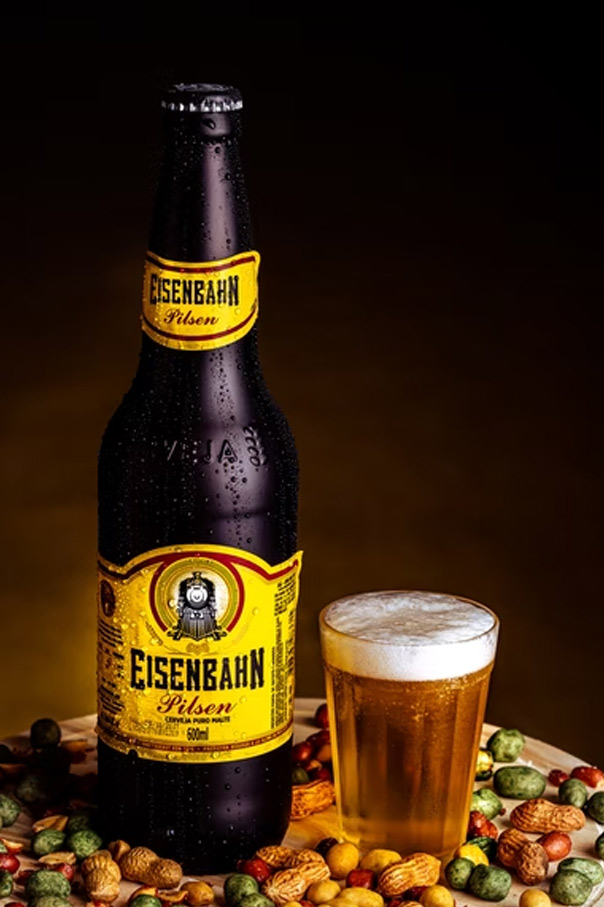
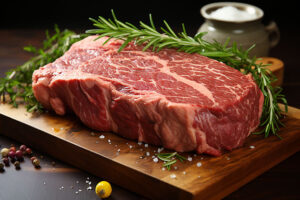
Smart Prop Selection:
Bottle openers and coasters add context without overwhelming
Nuts, pretzels, or bar snacks complement beer nicely
Brewing ingredients (hops, grains) work well for craft beer shots
Keep props simple and supporting, never competing with the beer
Beer Photography Setup Guide
Scenario
Best Lighting
Recommended Angle
Key Props
Common Mistakes
Single beer bottle
Side lighting
45-degree angle
Bottle opener, coaster
Direct front lighting
Beer in glass
Back/side lighting
Eye level or slightly below
Bar towel, nuts
Shooting from above
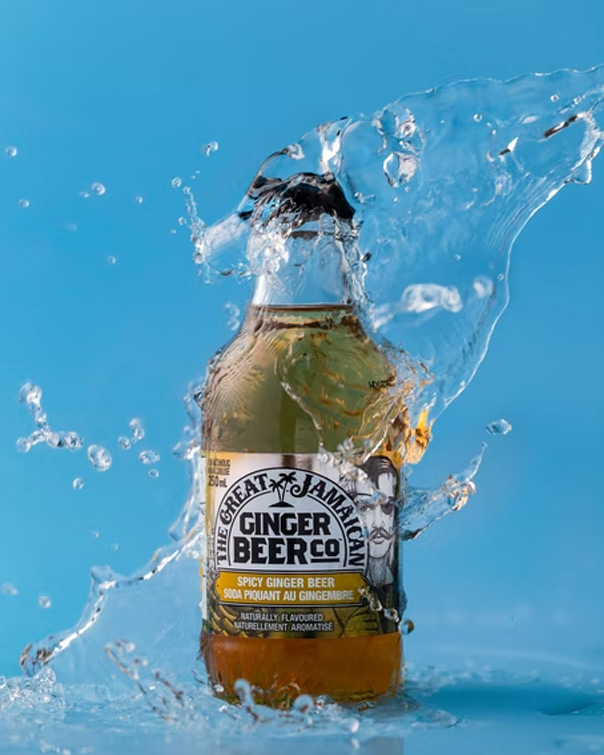
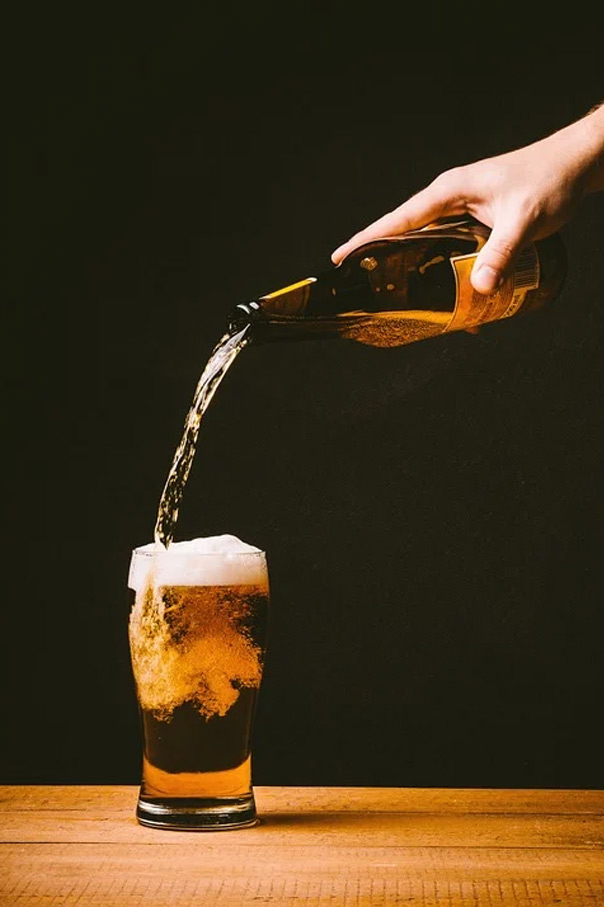
Beer pour action
Continuous lighting
Side angle
Clean glass, dark background
Slow shutter speed
Beer flight
Even overhead lighting
Directly above
Tasting notes, small glasses
Uneven lighting
Brewery scene
Mixed natural/artificial
Various angles
Brewing equipment, staff
Cluttered background
Adjust ISO, aperture, and shutter speed based on the beer photography style you want—bright, moody, or macro
Camera Settings for Different Beer Photography Scenarios
Different situations require different camera settings. Understanding these basics helps you get better results, whether you’re using a phone or a professional camera. Below are the recommended settings for various beer photography scenarios, organized into bullet points for easy reading:
Bright, airy photos with natural light:
ISO: 100-400
Aperture: f/5.6-f/8
Shutter speed: 1/60 or faster
Why it works: These settings deliver sharp images with a good depth of field, ideal for showcasing beer in a well-lit, inviting environment.
Dramatic, moody photos with artificial lighting:
ISO: 200-800
Aperture: f/2.8-f/4
Shutter speed: 1/125 or faster
Why it works: The wider aperture creates a shallower depth of field, adding a dramatic focus effect that makes the beer pop against a blurred background.
Macro photography of beer details:
ISO: 100-200
Aperture: f/8-f/11
Shutter speed: 1/125 or faster (with a tripod)
Why it works: The smaller aperture increases depth of field, ensuring sharp capture of intricate details like bubbles or condensation.
Action shots like pouring beer:
ISO: 400-800
Aperture: f/4-f/5.6
Shutter speed: 1/250 or faster
Why it works: The faster shutter speed freezes the motion of the pour, capturing the dynamic movement without blur.
Use basic editing apps to fine-tune lighting, color, and detail for a polished, professional result.
Post-Processing Tips for Better Beer Photos
Even great photos can be improved with smart editing. You don’t need expensive software—many free apps can help you make your beer photos look professional. Here are key tips to enhance your images while keeping them natural and appealing:
General Editing Principles
Use free editing apps; expensive software isn’t necessary.
Avoid over-editing to keep the beer looking natural.
Aim for a professional yet authentic appearance.
Get Food Presets for Lightroom
Food photography presets in Lightroom are great for beer photos—they enhance rich tones, texture, and contrast with just a click. These presets can make your beer look crisp and vibrant, saving you time while keeping a consistent, professional look across your shots.
Specific Adjustments
Basic Adjustments
Increase contrast slightly to make the beer stand out.
Adjust brightness and shadows to reveal details without looking unnatural.
Color Correction
Adjust white balance if the beer appears too yellow or blue.
Increase saturation slightly for more vivid, appetizing colors.
Sharpening
Apply sharpening to enhance details like foam texture and label text.
Use manual adjustments for better control, focusing on key areas.
Removing Distractions
Use healing or clone tools to eliminate dust, reflections, or background distractions.
Keep edits subtle to maintain a professional look.
Branding and Style
Develop a consistent editing style for your beer photos.
Consistency is crucial for breweries or building a recognizable social media presence.
Beer photography with advanced methods like light painting and focus stacking.
Advanced Techniques for Professional Results
Once you’ve mastered the basics, these advanced techniques can elevate your beer photography:
Focus stacking:
Combines multiple images shot at different focus points into one image with everything in sharp focus.
Works great for close-up shots where both foreground and background need to be sharp.
Light painting:
Uses long exposures and moving lights to create dramatic effects.
Paint light onto specific parts of the beer while keeping other areas darker.
Requires practice but can yield stunning results.
High-speed photography:
Captures the exact moment of actions like a beer pour or bottle opening.
Needs special equipment and lighting.
Ideal for commercial work with spectacular results.
Multiple exposure techniques:
Combines different shots into one final image.
Example: Merge a perfectly poured beer with an ideal background or lighting from separate shots.
Color grading:
Goes beyond basic color correction to create specific moods and atmospheres.
Different color treatments can make the same beer photo feel warm and cozy or cool and refreshing.
Pro-level beer shots using just your smartphone and a few key tricks like lens cleaning and manual settings
Smartphone-Specific Beer Photography Tips
Your smartphone can produce excellent beer photos with the right techniques:
Clean your lens regularly:
Phone lenses pick up fingerprints and dust that soften images.
A quick wipe with a microfiber cloth dramatically improves image quality.
Use manual or pro mode (if available):
Gives control over exposure, focus, ISO, and shutter speed.
Helps achieve consistent results and handle tricky lighting situations.
Control focus and exposure separately:
Tap to focus on the beer, then adjust exposure by sliding up or down for better control.
More precise than leaving everything on automatic.
Use portrait mode or depth effect:
Creates beautiful background blur to make the beer stand out.
Works best with good separation between the beer and background.
Try third-party camera apps:
Apps like VSCO, Adobe Lightroom Camera, or Camera+ offer manual controls and RAW shooting capabilities.
Provide more features than the built-in camera app.
Building Your Beer Photography Portfolio
Whether for fun or a professional career, here’s how to build a strong portfolio:
Quality over quantity:
Focus on creating a smaller number of excellent images rather than many mediocre ones.
Develop a consistent style:
Use specific lighting, props, or editing techniques consistently.
Makes your work immediately recognizable.
Document your process and settings:
Keep notes on what worked and didn’t for different beers and lighting conditions.
Valuable for skill improvement over time.
Share your work on social media and photography platforms:
Use Instagram, Flickr, and Behance to showcase your beer photography.
Engage with others using relevant hashtags.
Reach out to local businesses:
Contact breweries, restaurants, or bars needing quality images for websites and marketing.
Many small businesses can’t afford expensive photographers.
Avoid common mistakes
Common Mistakes and How to Avoid Them
Avoid these pitfalls to improve your beer photography:
Shooting too fast:
Take time to wait for foam to settle, clean spills, and check composition and lighting.
Patience improves the final result.
Ignoring the background:
Check the entire frame for distractions like messy tables or signs.
A clean background enhances the beer’s appeal.
Over-editing:
Keep edits subtle and natural; beer should look real, not cartoonish.
Avoid unprofessional, overdone effects.
Wrong glass selection:
Match the glass to the beer style (e.g., stout in a pint glass, pilsner in a tall, narrow glass).
Shows off the beer’s characteristics best.
Poor timing for action shots:
Practice timing for pours or bottle openings.
Take multiple shots to capture the perfect moment.
Business Applications of Great Beer Photography
Quality beer photography drives business success in these ways:
Menu photography:
Appetizing beer photos on menus boost sales at restaurants and bars.
Customers order what looks appealing.
Social media marketing:
High-quality photos get more engagement, shares, and comments.
Increased visibility leads to more customers and sales.
Website conversion rates:
Professional photos keep visitors engaged longer and improve sales.
Poor photography can make products look unappealing and hurt sales.
Brand building:
Consistent, quality imagery establishes and reinforces a brewery’s brand identity.
Makes the brand memorable across platforms.
The Future of Beer Photography
Stay ahead with these emerging trends:
Video content:
Short videos (e.g., beer pours, brewery processes) get more engagement than still photos.
Basic video skills can open new opportunities.
360-degree and virtual reality photography:
Allows virtual brewery visits for customers.
Still niche but growing in importance.
Artificial intelligence tools:
Assist with photo editing and enhancement, speeding up workflows.
Enhance consistency but don’t replace photography skills.
Sustainability and authenticity trends:
Consumers prefer natural, authentic photos over heavily stylized ones.
The best time to photograph beer is during the day when you have access to soft, natural light—ideally near a window with indirect sunlight. Golden hour can also create warm, inviting tones in your shots.
How do I avoid glare on a beer glass?
To avoid glare, position your light source to the side or behind the beer and use a diffuser to soften the light. You can also use a polarizing filter to reduce reflections on glass surfaces.
Should I use a macro lens for beer photography?
A macro lens can be great for capturing details like foam, condensation, or label textures. However, a standard prime or zoom lens with a wide aperture also works well for overall composition and shallow depth of field.
Do I need Lightroom presets for beer photography?
While not required, Lightroom presets—especially food presets—can save time and provide a polished, cohesive look. They help enhance tones, contrast, and sharpness to make your beer photos stand out.
How can I make beer look cold in photos?
To make beer look cold, mist the glass with a water-glycerin mix for condensation, use ice-cold beer, and adjust temperature sliders in Lightroom to cool down highlights and shadows for a chilled effect.
Discover our collection of Food photography recipes:
Get more Beer Photo Inspiration at famous Breweries
Beer is one of the most consumed beverages globally. Here are six top breweries known for their influence and iconic beer brands:
Anheuser-Busch InBev (Belgium) The largest beer company in the world with 500 brands including Budweiser and Bud Light. Recently acquired SABMiller, expanding global reach.
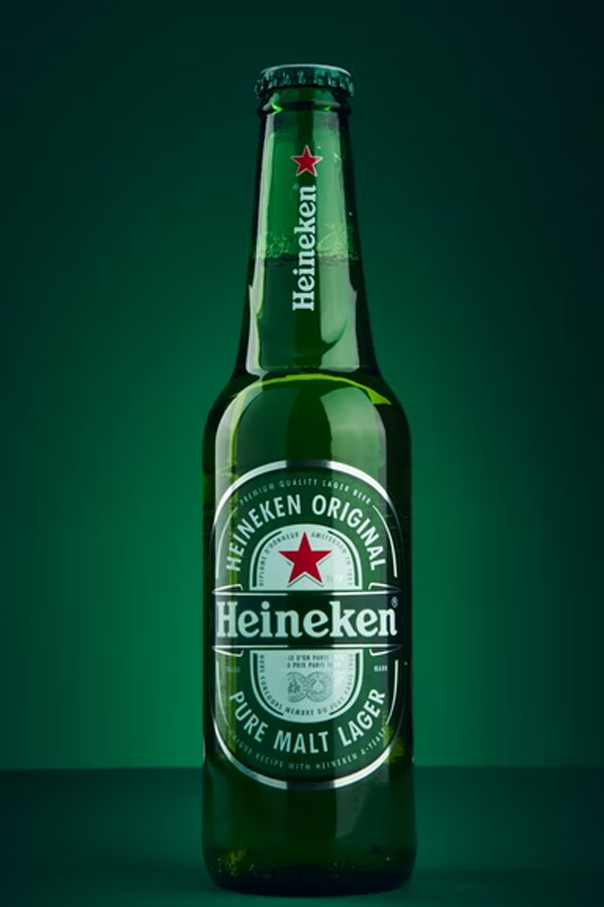
Heineken (Netherlands) Founded in 1864 and active in over 70 countries, Heineken produces major brands like Amstel, Sol, and Desperados, with strong U.S. market presence.
Carlsberg (Denmark) Operating since 1847, Carlsberg owns 140+ brands including Tuborg and Kronenbourg. Its SAIL’22 strategy focuses on growth and core markets.
Molson Coors (US/Canada) A major North American brewer with 31 breweries and brands like Coors Light, Miller Lite, and Molson Canadian. Strengthened by merger with SABMiller.
Tsingtao (China) China’s second-largest brewery exports to 100+ countries. Known for its flagship Tsingtao beer and expanding into Europe through partnerships.
Asahi (Japan) Established in 1889, Asahi is best known for Asahi Super Dry. The company continues to diversify into food and pharmaceutical products.
Silvain is a French/German national and has been with the Furoore Team since the beginning. He likes to write about various photography themes, especially food photography. If you leave a comment, he will come back to you to answer any questions you may have.
Do you want better Food photos?
.......................................... Stand out. Get more engagement with One-click.