

Give your portraits the look they deserve with our Lightroom presets. They’re built to keep skin tones looking real and colors balanced, all with a single click. Whether you’re shooting headshots, weddings, lifestyle, or editorial work, you’ll find a style that suits you.
Check out the collection below and see how easy it is to get clean, consistent results every time.
$29.90
$29.90
$29.90
Why Photographers Love Our Presets
- Made by photographers who know how important good skin tones are
- Works on RAW and JPEG, Desktop and Mobile
- One-click edits that save hours of tweaking
- Perfect for portraits, weddings, headshots, lifestyle shoots
- Trusted by thousands of photographers worldwide
Want to get the most out of your presets? Explore our Portrait Photography Masterclass: Posing, Light & Psychology for expert tips on lighting, posing, and editing. Learn how to craft stunning portraits from shoot to final edit.
What people are saying:
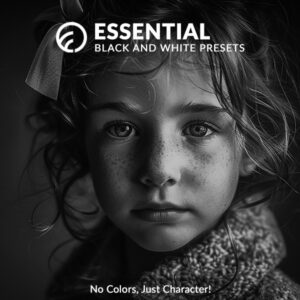
“I’ve been struggling to get that moody black-and-white look in Lightroom for ages, and these just nailed it with one click. The before/after difference is insane. Worth every penny!” - Norman T.
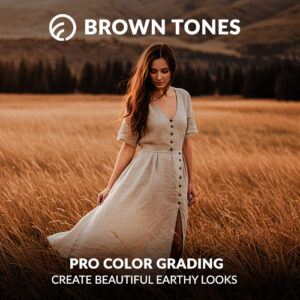
“These brown tones are so rich and moody—perfect for my cozy, earthy Instagram feed. No ragrets.” - Hendrik W.
Discover more professional Lightroom presets for desktop and mobile.