14 Tips for Pizza Photography: Proven Techniques for Success
Silvain • updated February 2, 2023 • 6 min read
Silvain • updated February 2, 2023 • 6 min read

The Italian restaurant is a particularly popular dining destination; the menu features pizza, pasta, and focaccia, so there is something for everyone.
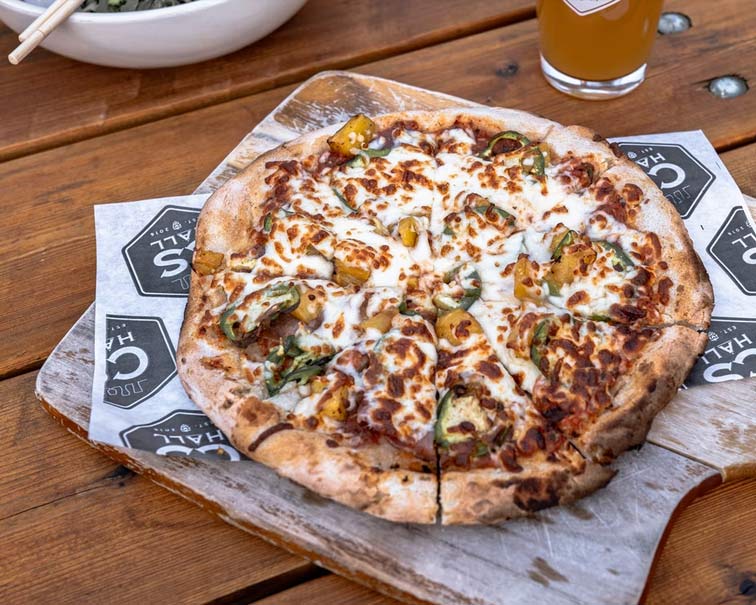
Pizzas, in particular, impress with their wide range of design options and color spectrum – the intense red of the tomato sauce, bright green highlights in the form of basil leaves, or yellow-brown melted cheese that makes you want to go to the nearest pizzeria around the corner, or bake your own pizza at home.
It’s one thing to bake a pizza, but it’s quite another to get it just perfect and picture it! We share the finest ways to picture the popular, spherical taste explosions here.
Content
» Listen
Natural light is the key to success. To produce the finest potential outcomes, experts agree that photographers should use natural rather than artificial light.
Place the pizza on a table close to a window, that the light is coming from the front or from the side.
Despite what most people think, a sunny day isn’t the best day for photos. If you shoot on a cloudy day, you get beautiful photos with a more even lighting.
Direct sunlight isn’t always ideal because it casts unwelcome shadows on the subject. However, photographing with natural light is not always straightforward, as some places do not allow it.
If you must use artificial light, set the light source about a meter above the food, but avoid casting a shadow on yourself with the camera.
But one thing is certain, the flash should rarely be used to shoot food if at all feasible. It would damage the pizza’s natural appearance, creates harsh shadows and, as a result, reduce the photo’s quality. If you need a light source, experiment with the flash or use a alternative light source.
..........................................
Get Our Lightroom Presets!
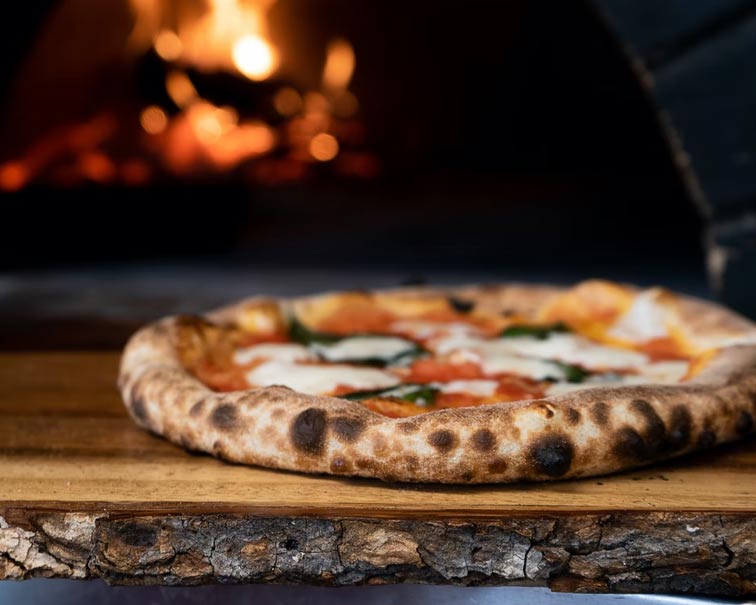
Of course, the background is important when it comes to producing the perfect pizza photo. Rustic wooden boards or majestic marble bases complement the colors of the pizza beautifully and bring the Italian delicacy to the foreground.
Pizza photography experts use really dark to black backdrops for particularly vibrant toppings to make the pizza look even more enticing.
If you are a beginner food photographer, keep it simple with a neutral background and make sure there are no extra distractions.
It is up to your taste to use a light background or a dark background. Just keep in mind, that the background you select will have an impact on the look and mood of your pizza photo. See also dark and moody food photography.
The simplest, quickest, and most efficient way to improve your pizza photographs is to use thoughtful image composition.
Read all about Food styling to the basics right!
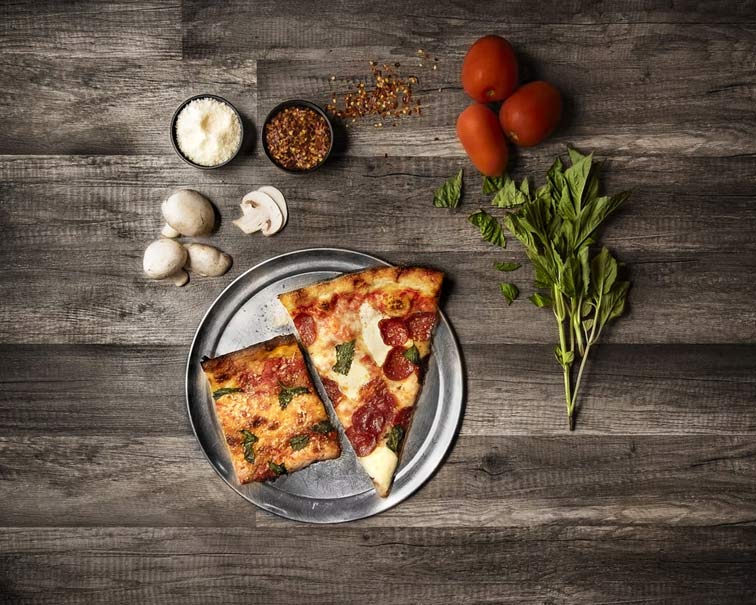
The most challenging and time-consuming aspect of food photography is certainly styling the pizza. It’s also crucial to observe that photographers’ pizzas are set up differently than typical customers’.
It’s best to organize the individual elements separately in order to get the best photo possible.
This is the only way to ensure that each portion of the pizza looks good on its own. The dough is baked uncovered in the oven, allowing you to bake it to the appropriate brownness while avoiding the risk of other ingredients burning.
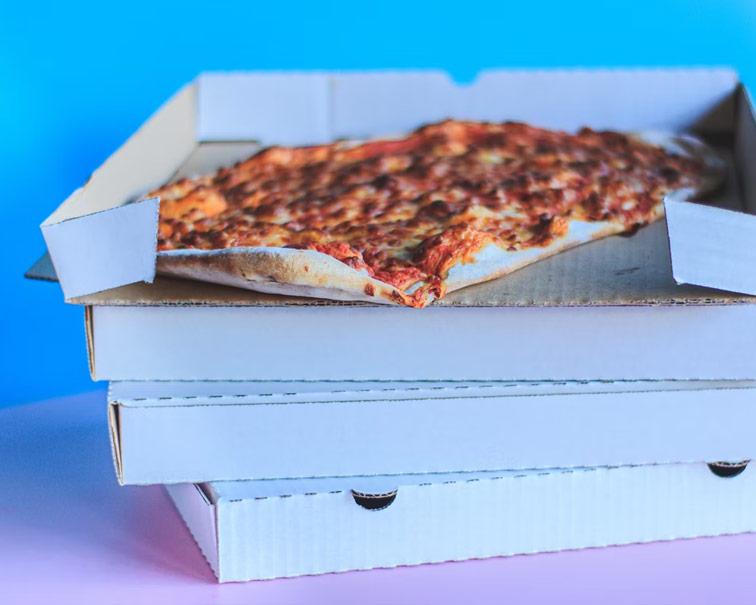
A pizza that has just come out of the oven, with rising steam and melted cheese looks far more delicious than one that is laying on the table since a few hours.
Tomato sauce is poured straight to the completed baked dough, as is customary. When cooking pizza for a party, substantially less sauce is required than when creating a pizza.
This ensures that the sauce does not “water down” the cheese and that other ingredients are highlighted.
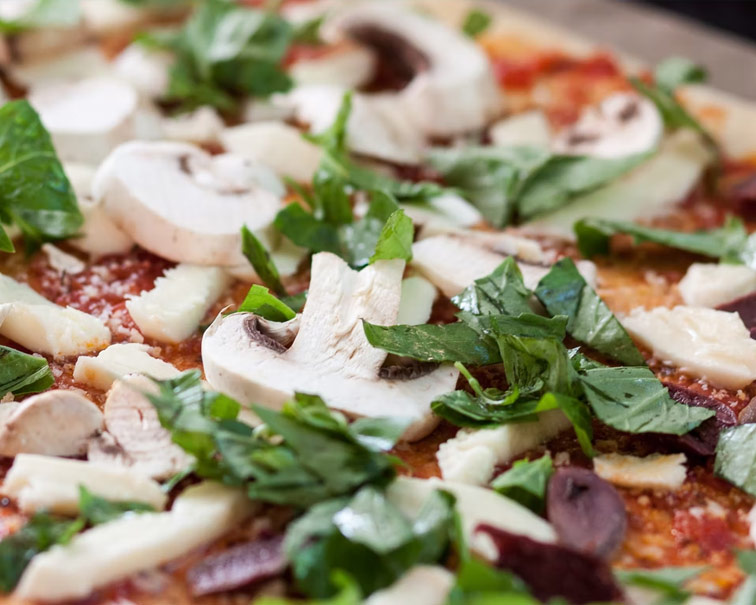
The same approach applies to the rest of the ingredients: less is more. After all, potential diners shouldn’t have to guess whether the brown patch on the crust is a mushroom, burnt cheese, or anything else.
Choose your components carefully and pay attention to the color contrasts – the red of the tomato sauce, for example, complements the green highlights of basil brilliantly.
If the pizza has herbs on it, don’t cook them in the oven with the pizza because they will lose their shape and texture. Put them on after, so you have something colorful and fresh looking in the picture.
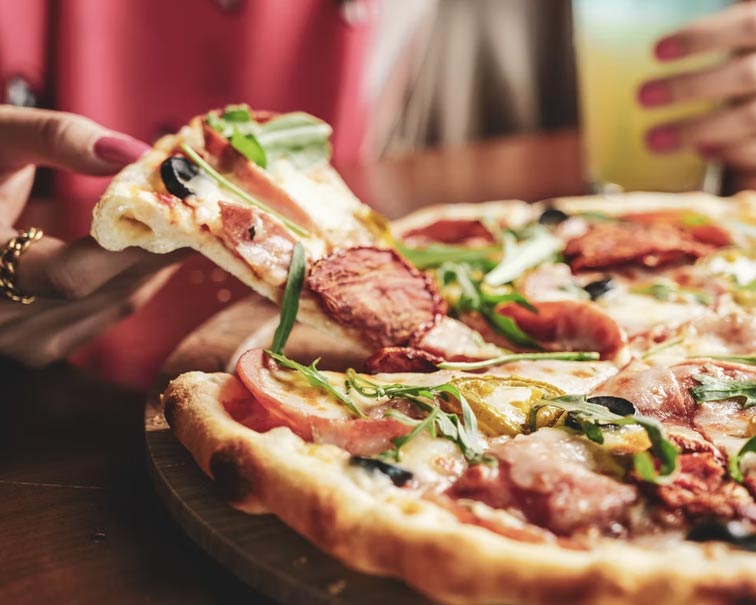
The presentation of the cheese is equally vital here; after all, what thrills pizza enthusiasts more than gently melted cheese on their favorite pizza?
This is where the English term “cheese pull” comes from. To obtain this appearance, cut a piece of pizza and lift it off with a shovel; the cheese extends between the other pieces and generates threads that cheese lovers adore!
Olive oil is an excellent technique to cap off the ideal pizza shot. After baking, brush the border with a thin layer of olive oil to achieve a golden brown color.
Brushing the other components with oil can help them stand out more, but olive oil isn’t recommended because its greenish tint can affect the quality of the other colors. You can use canola or other colorless vegetable oils in this recipe.
Experts advocate spreading coarse-grained spices like chili flakes, granular salt, and freshly ground pepper on top of the pizza to give it some structure.
Because one thing is certain: the emphasis here is on the finer points, and those finer points frequently make all the difference!
When shooting in artificial light, the camera’s white balance must be adjusted. Because every camera’s white balance is different, you should consult your camera’s user manual for this step.
In a nutshell, the white balance (WB) changes the image’s color temperature to match the lighting circumstances. A white balance is essential for each lighting environment to avoid color casts (light bulbs have a yellow cast, for example).
With this, we’ve reached the pinnacle of photography expertise. The depth of field is restricted as nearly as possible around the plane on which the main subject is positioned in this design option.
As a result, the distinction between foreground and backdrop is blurred. The amount of blur is determined by the image sensor size, lens, and aperture of the camera. Intentional blurring can greatly enhance an image’s meaning.
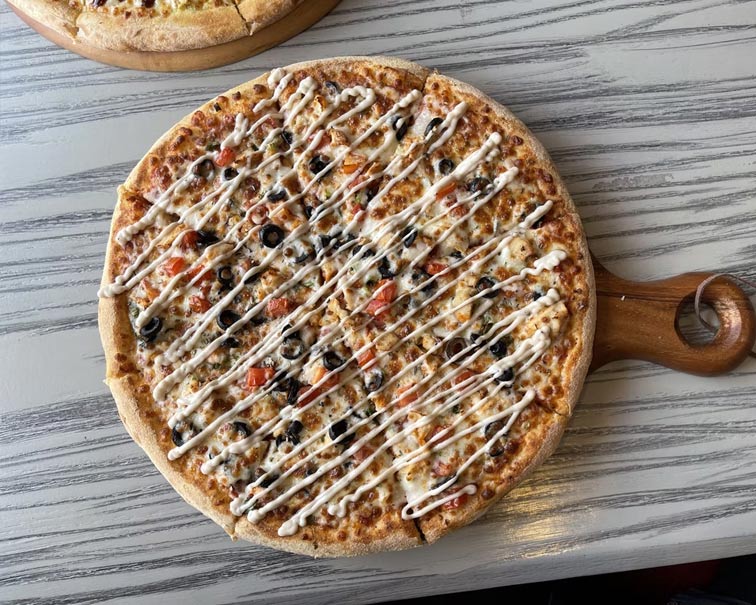
Pizzas are ideal for photographing from above, especially because of their round form. However, there are additional factors to consider if you want to be successful with your photography.
Flat shots are a great way to highlight particularly interesting toppings. When it comes to fluffy crust, experts recommend presenting it at a to make it look really appetizing.
The naturalness and realism of the colors is vital here, because guests want to see what they can anticipate to see in real life through the product photographs! To attract to potential guests, the color scheme should be bright and appealing.
Capture the essence of your dishes with food presets for Lightroom, designed to elevate the allure of any meal.
Of course, there’s photo editing! It’s just as crucial as the preparation, style, and photo shoot. If you have Lightroom or Photoshop, this is fantastic.
Don’t worry if you don’t. There are numerous programs available, including free photo editing apps. You can edit photographs on your smartphone as well, using apps like Snapseed or VSCO, which are both free.
No clue how to make pizza – check out this recipes:
Where did pizza originate?
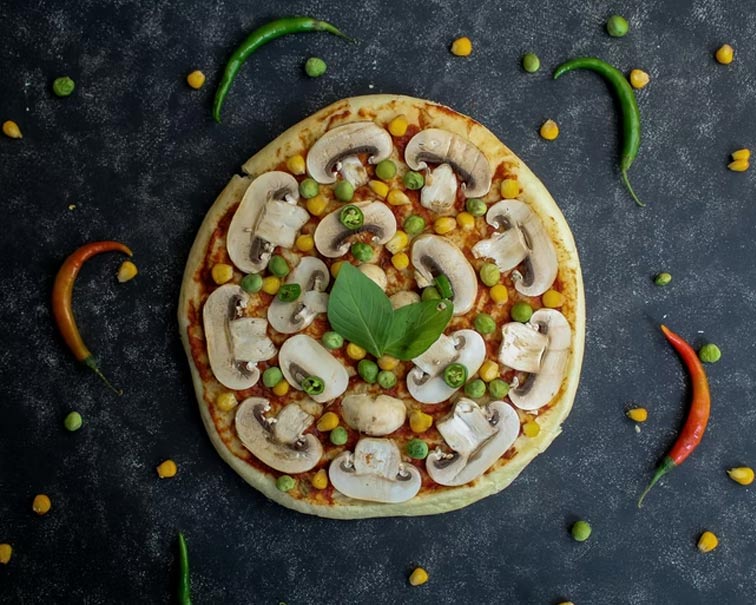
Veggie supreme Detroit style pizza
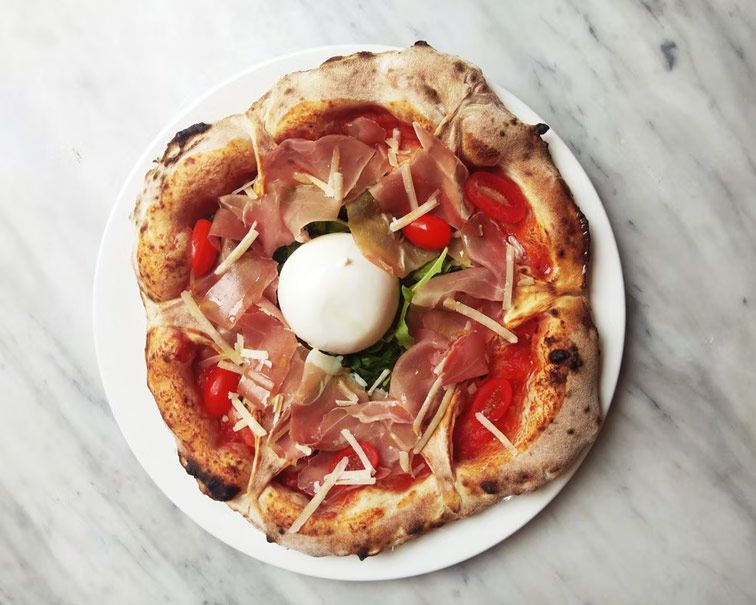
Burrata pizza pie
How to make the perfect grilled pizza
Easy pull apart pizza bread
Mama’s best pizza dough recipes
Best homemade pizza Recipe ever
Capturing the beauty and taste of a pizza in a photograph is both an art and a science. From using natural light and avoiding harsh flash, to carefully selecting ingredients and arranging them just so, the tips outlined in this article provide a roadmap for taking stunning pizza photos.
Whether you’re a beginner or a seasoned pro, these tips are sure to help elevate your food photography game and have your followers drooling over each and every slice. So, grab your camera and get ready to make your next pizza creation the star of the show!
Related Articles
Your thoughts and questions