

How to take Food Photography for Instagram the easy Way
Silvain • updated June 19, 2025 • 8 min read
Silvain • updated June 19, 2025 • 8 min read

How to take food photography for Instagram doesn’t have to feel like rocket science. You already have the most important tool right in your pocket, and with the right techniques, you’ll be creating scroll-stopping food photos that make people actually hungry.
Content
How to take food photography for Instagram doesn’t have to feel like rocket science. You already have the most important tool right in your pocket, and with the right techniques, you’ll be creating scroll-stopping food photos that make people actually hungry.
Most people make the same mistakes when snapping their meals. They use harsh overhead lighting, forget about composition, or edit their photos until the food looks artificial. Instagram’s algorithm rewards engaging content, and nothing stops the scroll quite like a perfectly captured dish that makes viewers feel like they can taste it.
The secret isn’t expensive equipment or professional training. It’s understanding light, composition, and the story you want your food to tell.
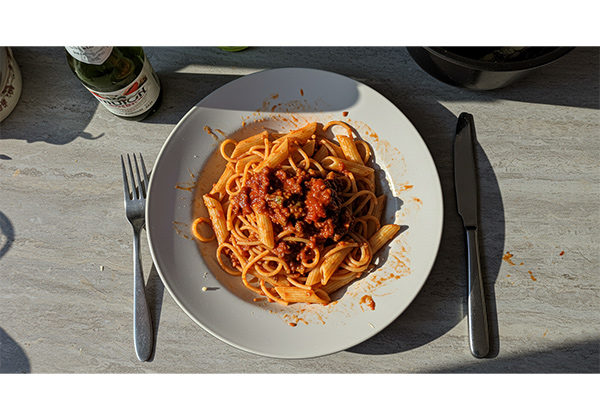
Natural light is your best friend. Position yourself near a window whenever possible, but avoid direct sunlight that creates harsh shadows. The golden hours (early morning and late afternoon) offer the softest, most flattering light for food photography.
When you’re stuck in dim restaurants, don’t reach for the flash. Instead, use these techniques:
Quick tip: If the light is too bright, create a diffuser using a white napkin or tissue paper between the light source and your food.
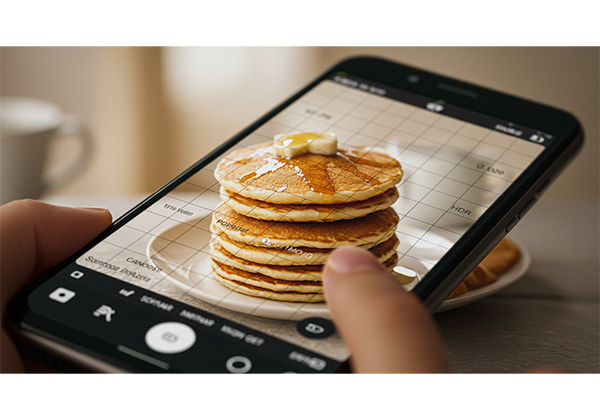
Your phone’s camera is more powerful than you think. Turn on these settings before you start shooting:
Never use digital zoom. Instead, move closer to your subject or crop later during editing. Digital zoom reduces image quality and makes photos look grainy on Instagram.

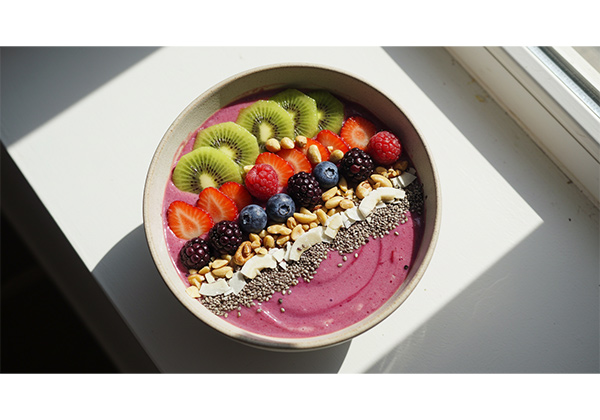
Place your main dish along the grid lines rather than dead center. This creates visual interest and feels more natural to the eye. Your most important element (like a perfectly cooked steak or colorful garnish) should sit at one of the intersection points.
Sometimes breaking the rule of thirds works better. Get close enough that your food fills most of the frame, eliminating distractions and creating an intimate, mouthwatering perspective.
Before you shoot: ✓ Find natural light source
✓ Clean your phone lens
✓ Turn on grid lines
✓ Consider your angleWhile shooting:
✓ Take multiple shots
✓ Focus on the best part of the dish
✓ Check for distracting elements
✓ Use rule of thirds or fill the frameAfter shooting:
✓ Edit lightly for color and exposure
✓ Crop for better composition
✓ Add engaging caption with relevant hashtags
The difference between amateur and professional-looking food photos often comes down to styling. Here’s how to make your food look irresistible:
Before the food gets cold:
Props that work:
Props to avoid:
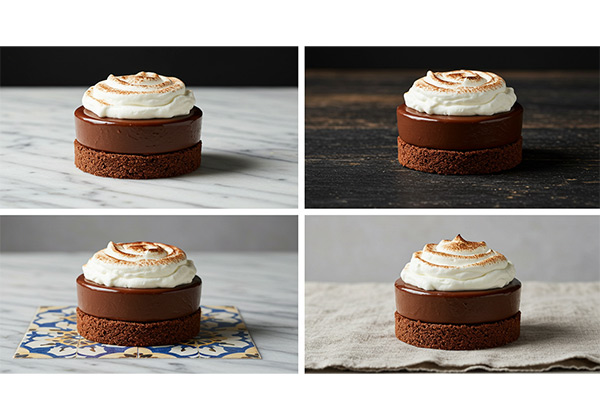
Your background should complement, not compete with your food. Here are winning combinations:
| Food Type | Best Background | Why It Works |
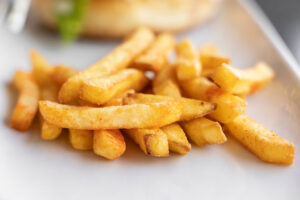
| Colorful dishes | White or neutral surfaces | Lets colors pop |
| Dark foods (chocolate, coffee) | Light marble or wood | Creates contrast |
| Rustic meals | Weathered wood | Matches the vibe |
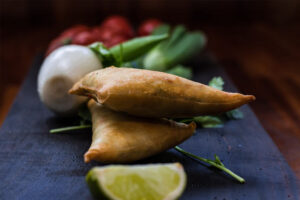
| Elegant plating | Dark slate or clean surfaces | Feels sophisticated |
| Casual foods | Textured surfaces | Adds personality |

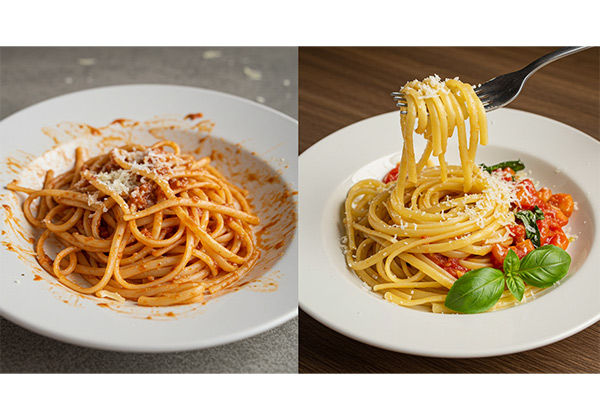
The goal is to make your food look like the best version of itself, not like it belongs in a fantasy world. Here’s your editing workflow:
Step 1: Basic Adjustments
Step 2: Color Correction
Step 3: Final Touches
Apps that work well: VSCO, Lightroom Mobile, Snapseed, or your phone’s built-in editor.
Food in motion tells a better story than static plates. Try capturing:
Use burst mode for action shots. This takes multiple photos in quick succession, giving you better odds of capturing the perfect moment.
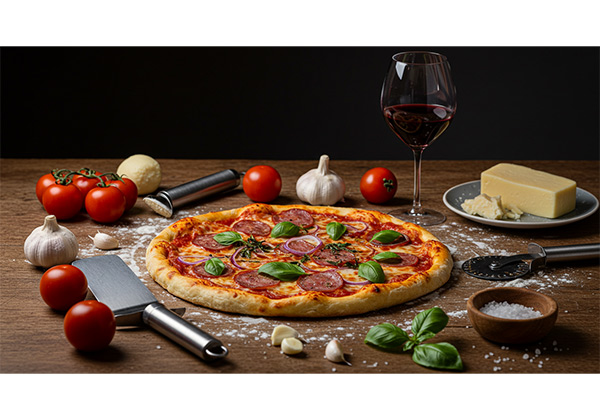
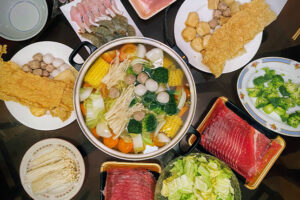
Instead of photographing a single dish, create visual interest by including:
Keep secondary elements slightly out of focus so they don’t distract from your main subject.
You don’t need to fill every inch of your frame. Leaving empty space around your food can make it feel more important and give your image room to breathe.
Great Instagram food photography isn’t about expensive gear—it’s about understanding light, composition, and emotion. Start with natural light, compose thoughtfully, and edit with restraint.
The photos that get the most engagement make people feel something. Capture the mood and experience, not just the meal. Your phone can create professional results when you apply these techniques consistently.
Every meal is practice. Stay authentic, keep experimenting, and watch your engagement grow.
Related Articles
Food Photography
Food Photography

Food Photography
Food Photography
Your thoughts and questions