Outdoor Portrait Photography Secrets for Natural Light Magic
Daniel • updated August 23, 2025 • 10 min read
Want to capture stunning portraits outside? These outdoor portrait photography tips will transform your natural light game and help you create professional-looking images every time you step outdoors.
Content
Best Time for Outdoor Portraits
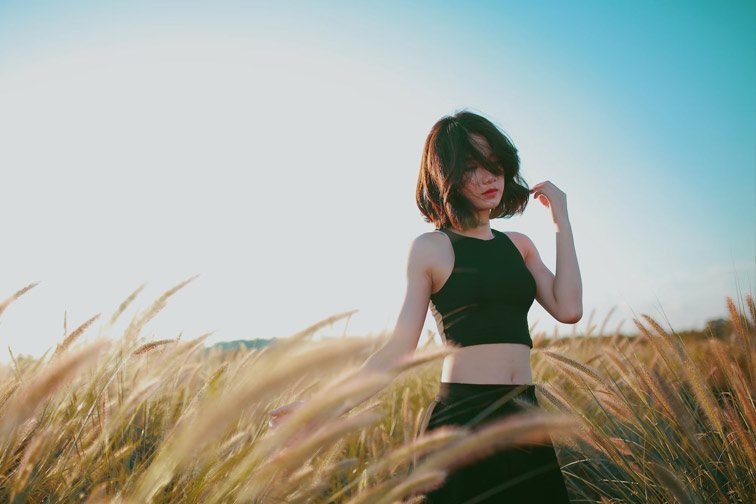
Timing matters. The golden hour, that soft glow just after sunrise or before sunset, bathes your subject in warm, flattering light. It minimizes harsh shadows and adds a dreamy vibe. If you can’t shoot during golden hour, overcast days are your friend.
Clouds act like a giant softbox, diffusing light for even, gentle illumination. Avoid midday sun – it’s harsh and creates unflattering shadows. Check a weather app to plan your shoot around sunrise or sunset times for your location.
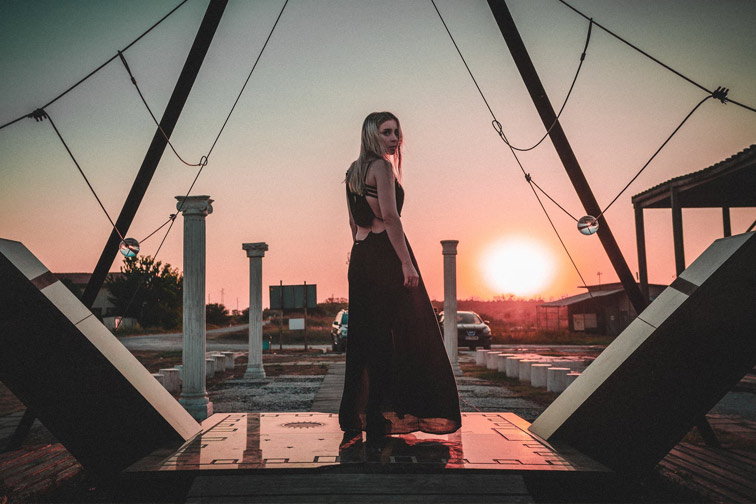
The best outdoor portraits happen during golden hour (one hour after sunrise or before sunset) when the light is soft, warm, and flattering. Position your subject with the sun at a 45-degree angle to their face, use a wide aperture (f/1.4-f/2.8) for background blur, and focus on the eyes.
Shooting during golden hour adds warmth and depth to portraits
Understanding Natural Light: Your Best Friend and Worst Enemy
Natural light changes constantly. One minute it’s perfect, the next it’s harsh and unflattering. Here’s how to read the light like a pro.
Overcast days are portrait gold. The clouds act like a giant softbox, giving you even, diffused light that flatters every face. No squinting, no harsh shadows, just beautiful, soft illumination.
Harsh midday sun creates raccoon eyes and unflattering shadows. Instead of fighting it, move your subject into open shade. Look for areas under trees, building overhangs, or covered pavilions where the light bounces softly.
Camera Settings That Actually Matter
Your camera settings can make or break an outdoor portrait. Here’s what works:
Aperture: Start with f/2.8 to f/4. This gives you a shallow depth of field to blur backgrounds while keeping your subject sharp. Go wider (f/1.4-f/2) for more dramatic background blur, but watch your focus carefully.
Shutter Speed: Keep it at least 1/focal length to avoid camera shake. For a 85mm lens, use 1/85s or faster. With moving subjects, bump it to 1/250s or higher.
ISO: Modern cameras handle ISO 800-1600 beautifully. Don’t be afraid to raise it when the light gets dim. Better a slightly grainy sharp photo than a blurry perfect one.
Lighting Condition
Aperture
Shutter Speed
ISO
Notes
Bright Sun
f/4-f/5.6
1/250s+
100-400
Use shade or backlight
Overcast
f/2.8-f/4
1/125s+
400-800
Perfect portrait light
Golden Hour
f/1.8-f/2.8
1/160s+
200-800
Magical warm light
Open Shade
f/2.8-f/4
1/125s+
800-1600
Soft, even lighting
Lens Choice: Distance Creates Magic
85mm to 135mm lenses are portrait perfection. They compress the background, create beautiful bokeh, and let you maintain a comfortable distance from your subject. Your model won’t feel crowded, and you’ll get more natural expressions.
50mm works great too, especially for environmental portraits where you want to include more of the surroundings. Just step back a bit to avoid unflattering wide-angle distortion.
Wide-angle lenses (24-35mm) can work for creative environmental shots, but keep your subject centered and away from the frame edges to minimize distortion.
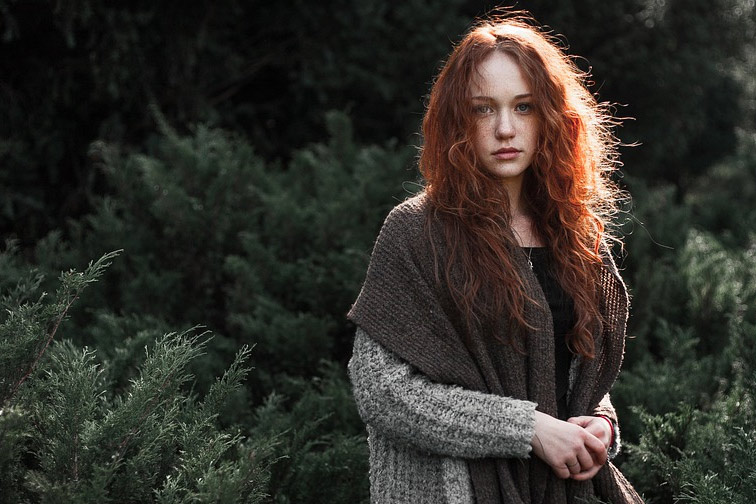
Finding the perfect spot enhances natural lighting and composition.
Choose a Location That Tells a Story
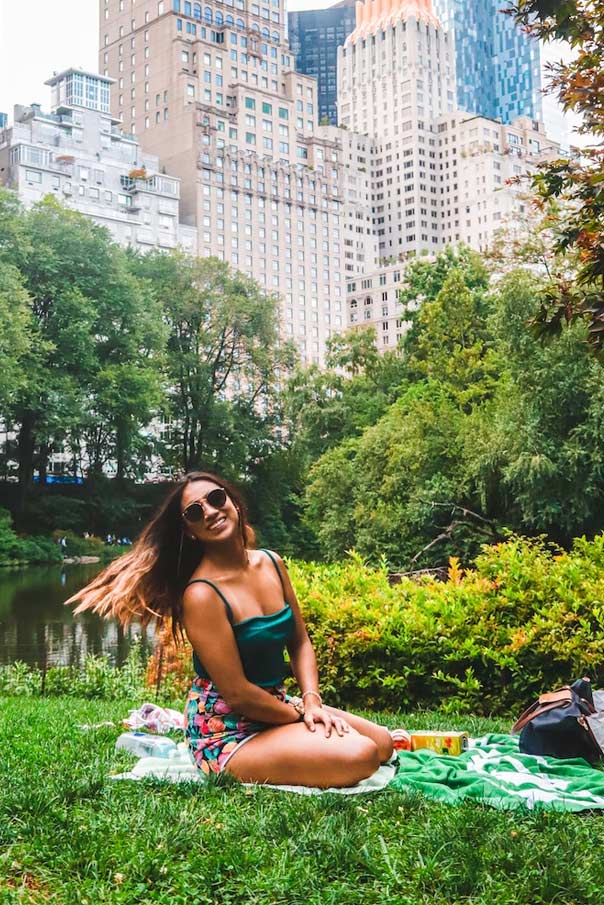
Your background sets the mood. A park with lush greenery screams nature lover, while an urban alley with graffiti adds edge. Scout locations beforehand to find spots with clean, uncluttered backgrounds. Too much chaos behind your subject steals focus.
Look for natural frames like tree branches or doorways to draw the eye to your subject. A 2023 survey by PhotoFocus found that 68% of photographers prefer natural settings like parks for outdoor portraits due to their versatility
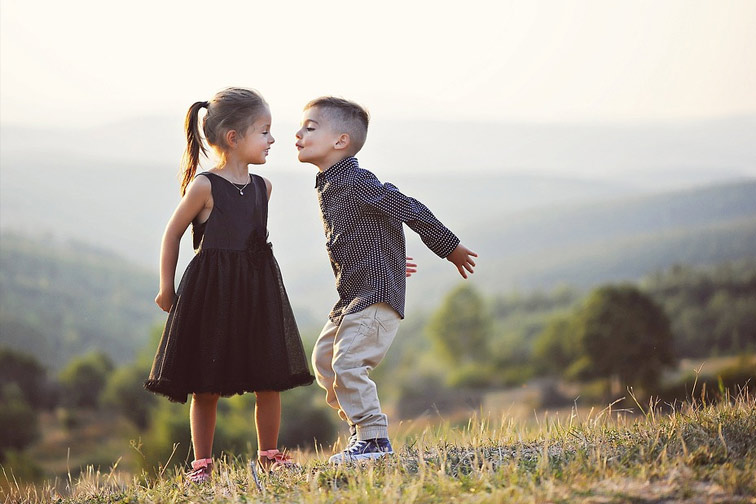
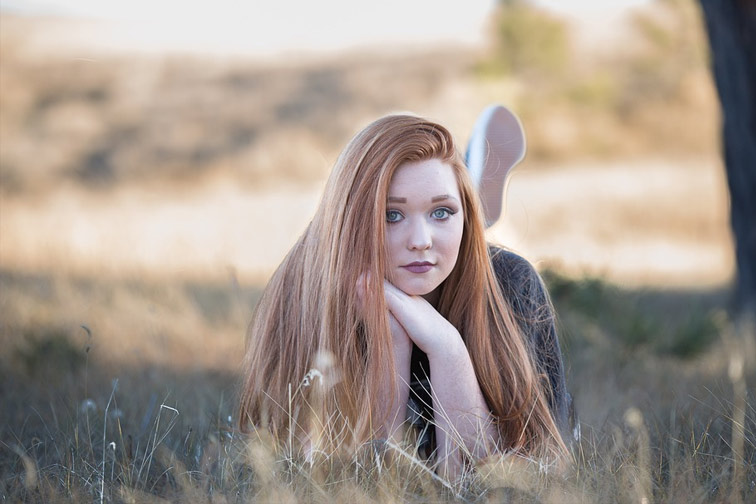
Relaxed poses create authentic and engaging portraits.
Posing: Making People Look Natural
Most people freeze up in front of a camera. Your job is to help them relax and look natural.
Start with basic posing rules: Angle the body slightly away from the camera, keep weight on the back foot, and create space between arms and the torso. These small adjustments instantly make people look better.
Give your subject something to do. Lean against a wall, walk toward you, play with their hair, or laugh at something off-camera. Movement creates natural expressions that beat stiff “say cheese” smiles every time.
For groups, create levels. Not everyone needs to be the same height. Use steps, hills, or have some people sit while others stand. It creates visual interest and feels more dynamic.
You can get natural shots with almost any kind of model. What is more important is how they wear their hair, make-up, and clothes. Find out how to make perfect makeup for photos.
This should go with the place or the environment. So do not overdo it make-up-wise. Also, the hairstyle should be something natural and should fit their overall style. Read also the best hairstyles to look good in photos.
For the outfit, the model should just bring different pieces of clothing, to try variations on the spot. Stay away from prints or even large brand logos. Most of the time, that quickly breaks the mood.
Also, the patterns often draw all the attention to themselves and take it away from what the model is supposed to be about.
You can also use props. This can also include things like a hat, poncho, blanket, glasses, or other clothing or accessories. Use your imagination and add things like this to your picture. You can tell a whole new story this way.
Use the environment to show their personalities and sense of style. When you shoot outside, the possibilities are endless.
Background: Simple Beats Busy
Your background should support your subject, not compete with them. Look for clean, simple backgrounds that complement your portrait without stealing attention.
Busy backgrounds kill great portraits. That beautiful forest might look amazing to your eyes, but it’ll create chaos in your photo. Instead, find a small clearing or use a wide aperture to blur everything behind your subject.
Urban environments offer great portrait opportunities. Brick walls, garage doors, and clean building facades make excellent backdrops. Just watch for distracting elements like signs, poles, or cars that might “grow” out of your subject’s head.
Working With Difficult Light
Not every shoot happens during golden hour. Sometimes you’re stuck with harsh midday sun or dim cloudy conditions. Here’s how to adapt:
For harsh sun: Create your own shade. Position your subject under trees, building overhangs, or even use a large reflector or diffusion panel. If you must shoot in direct sun, backlight your subject and use fill flash or a reflector to brighten their face.
For dim conditions: Bump your ISO and open your aperture. Modern cameras handle ISO 3200 better than old cameras handled ISO 800. A slightly grainy sharp photo beats a blurry “perfect” one.
A simple 5-in-1 reflector is your secret weapon. The white side bounces soft fill light, the silver side adds contrast, and the gold side warms up skin tones. Even on overcast days, bouncing light back onto your subject’s face can lift shadows and add catchlights to their eyes.
Fill flash isn’t cheating. When done right, it looks completely natural. Set your flash to -1 or -2 stops below ambient light to subtly fill shadows without overpowering the natural light.
Common Mistakes That Kill Great Shots
Shooting at eye level all the time. Change your perspective. Get low and shoot up for a powerful look, or find higher ground to shoot down for a more intimate feel.
Ignoring the background. Always check what’s behind your subject before you shoot. That tree branch “growing” out of their head or the bright red sign in the corner can ruin an otherwise perfect portrait.
Not taking enough shots. People blink, expressions change, and perfect moments happen fast. Take multiple shots of each setup. You’ll thank yourself later when you’re editing.
As legendary photographer Annie Leibovitz once said: “A thing that you see in my pictures is that I was not afraid to fall in love with these people.”
The right equipment ensures sharp, well-lit portraits outdoors.
Technical Gear That Actually Helps
You don’t need thousands of dollars in gear, but a few key pieces make a huge difference:
A reflector (around $30) gives you control over light direction and quality.
An 85mm lens creates beautiful background separation and flattering compression.
A polarizing filter cuts reflections and makes skies pop, but be careful with skin tones.
When to Break the Rules
Photography rules exist to help you, not limit you. Once you master the basics, experiment with breaking them:
Shoot into the sun for dramatic rim lighting
Use busy backgrounds as storytelling elements
Try extreme wide angles for creative environmental portraits
Embrace harsh shadows for dramatic black and white work
Weather: Your Unexpected Ally
According to a recent survey by PetaPixel, 67% of professional photographers prefer overcast conditions for outdoor portraits because the light is naturally diffused and flattering. (Source)
Rainy days create mood. Light rain or the moments just after a storm offer unique opportunities. Colors become saturated, reflections appear in puddles, and the light takes on a soft, moody quality.
Snow acts like a giant reflector, bouncing light up onto faces and creating even illumination. Just watch your exposure meter – all that white can fool your camera into underexposing.
Subtle edits enhance colors and skin tones for professional results.
Post-Processing: The Final Touch
Post-processing tweaks your shot, but don’t overdo it. Use Lightroom or Photoshop to adjust exposure, contrast, and white balance. RAW files give you room to recover details in highlights or shadows. Focus on these key adjustments:
Brighten eyes and add contrast to make them pop
Even out skin tones while keeping texture natural
Adjust white balance to match the mood you want
Add subtle vignetting to draw attention to your subject
The best outdoor portrait photography tips mean nothing without practice. Start with willing friends or family members. Shoot in different lighting conditions, try various locations, and experiment with poses.
Challenge yourself weekly. Try one new technique each time you go out. Maybe it’s backlighting one week, environmental portraits the next. Small experiments lead to big breakthroughs.
Remember, great portraits happen when technical skills meet genuine connection with your subject. Master these outdoor portrait photography tips, but never forget that the magic happens when you help people feel comfortable and confident in front of your lens.
What are your Outdoor Portrait Photography tips? Let is know in the comments.
By Furoore team member Daniel Daniel has been supporting the editorial team as a content creator since the end of 2021 and is mainly responsible for portrait photography and related practical topics around cameras, lenses as well as accessories.